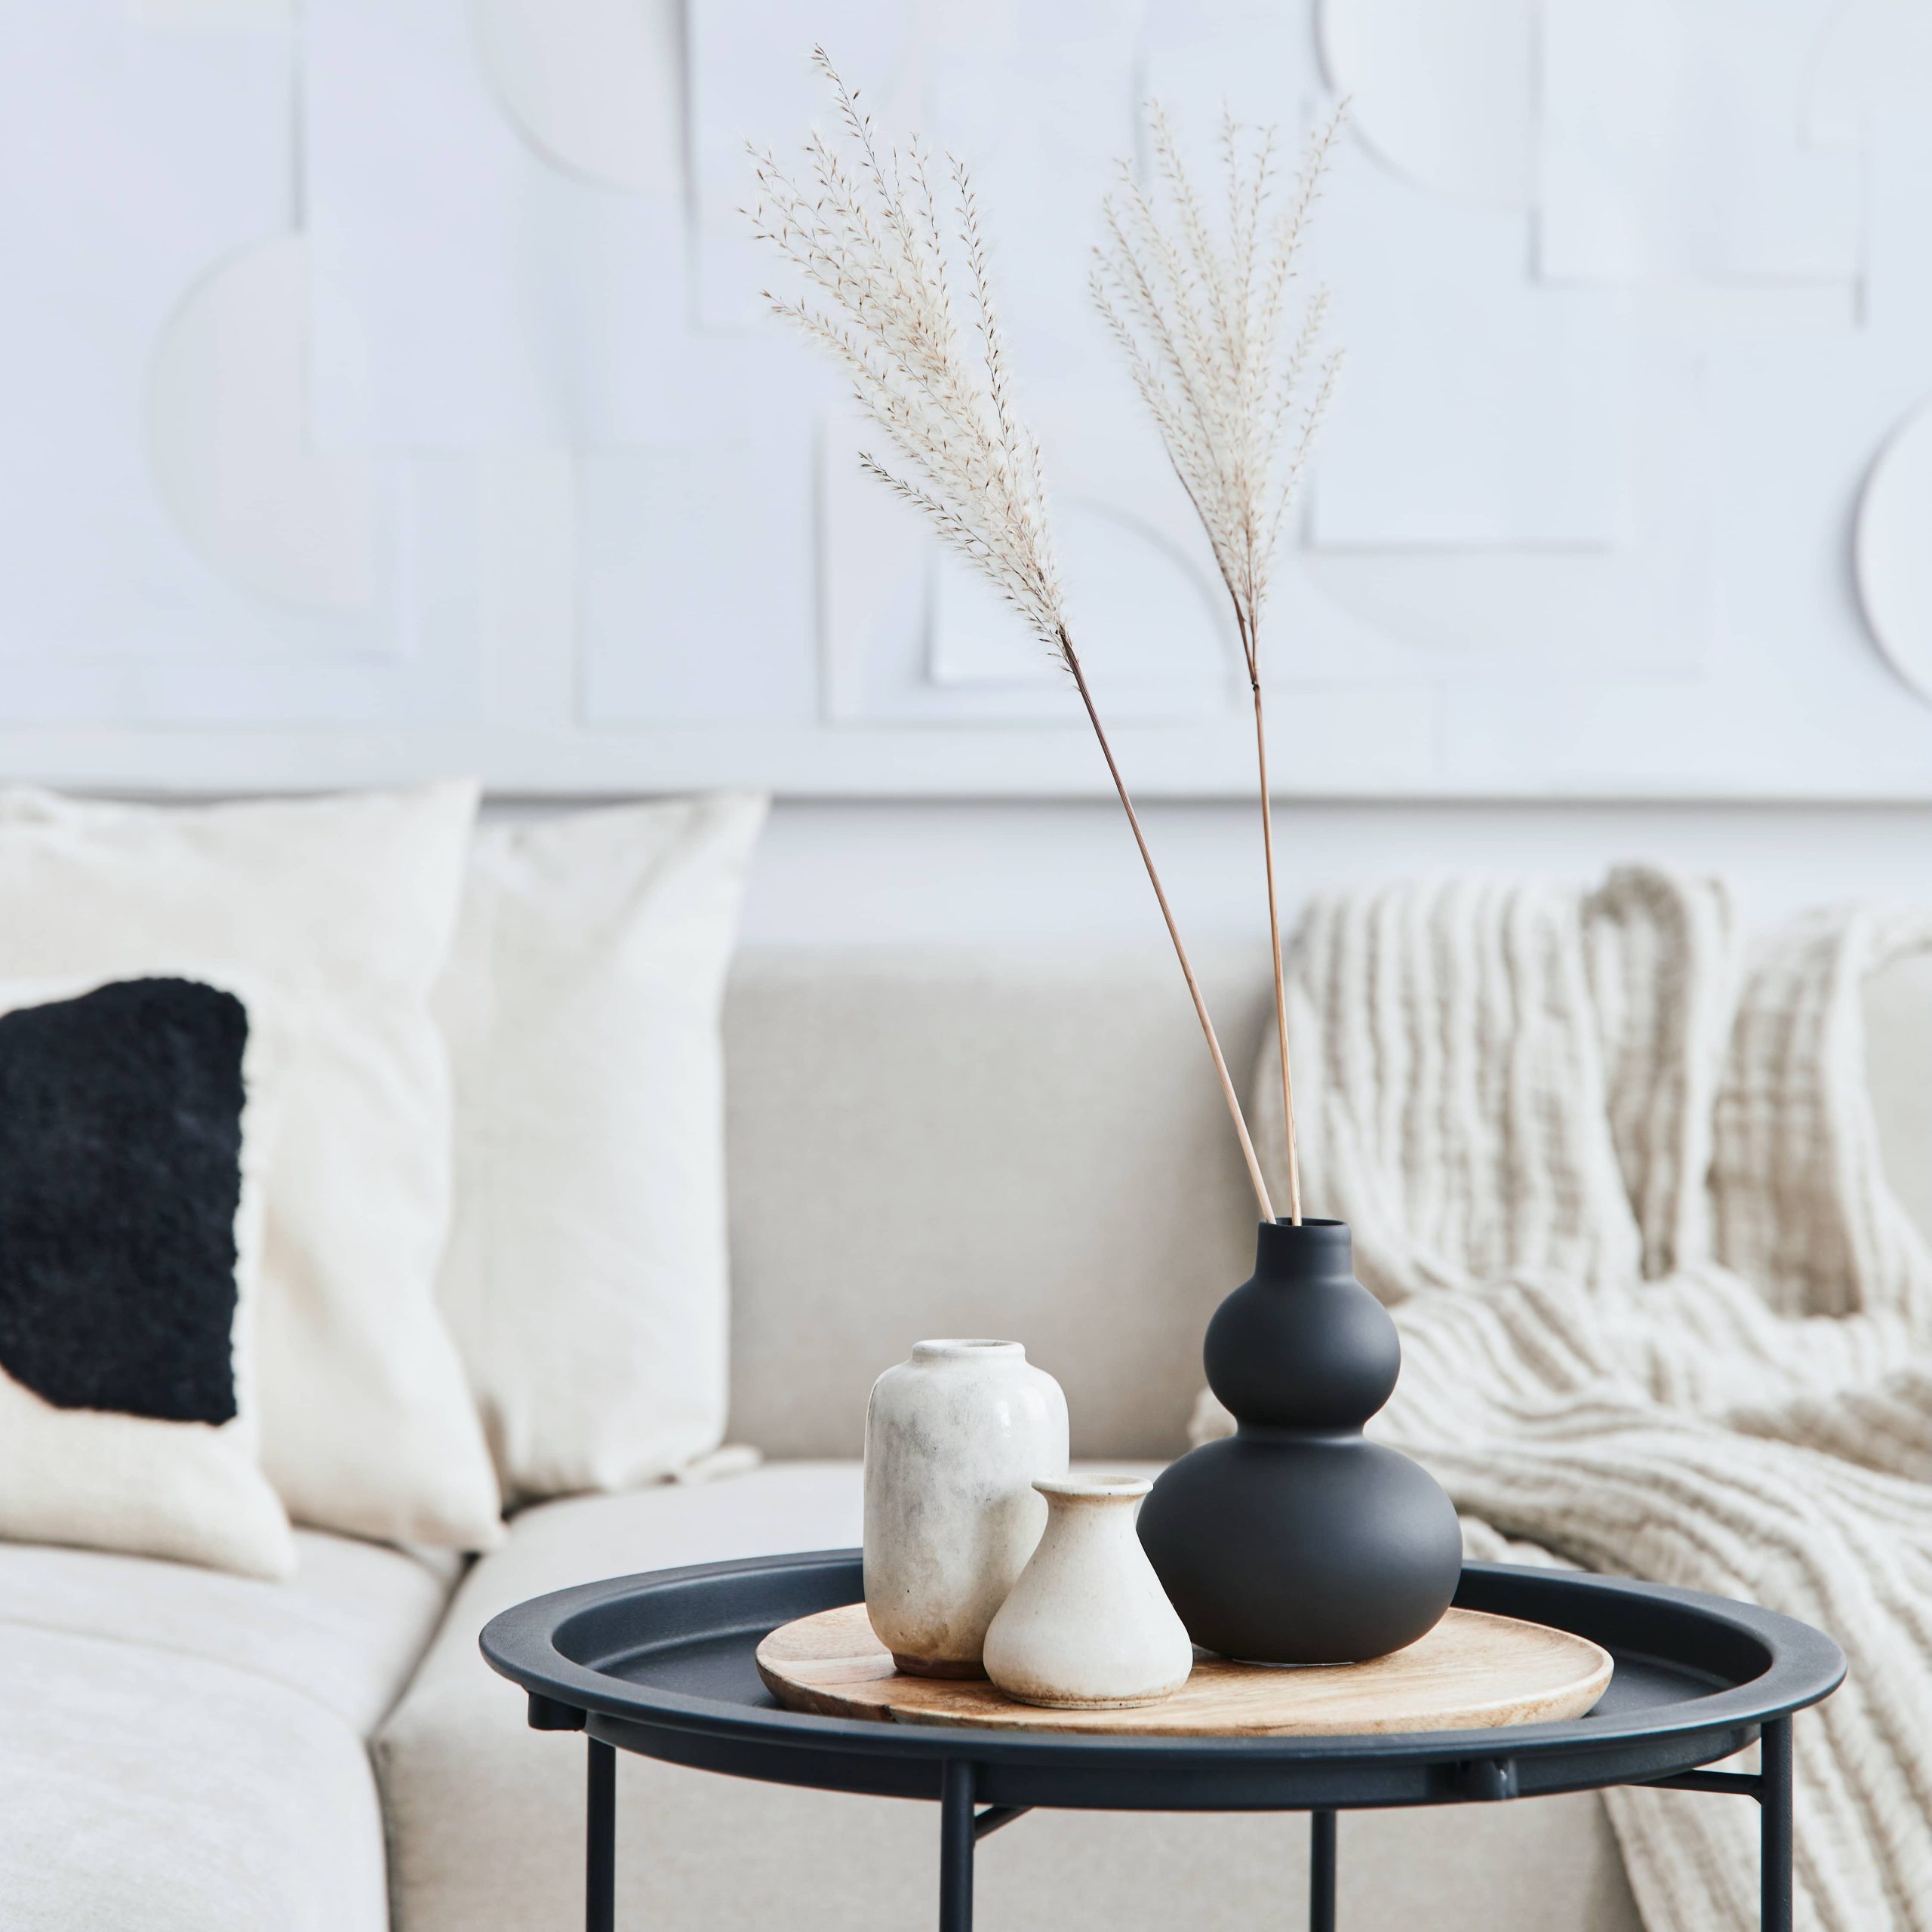
If you’re keen to spruce up your living space without a complete overhaul, decorative pillows offer a simple yet effective way to introduce color, texture, and style into any room. Not only are they incredibly versatile, but crafting your own pillows can also be a rewarding experience that adds a personalized touch to your home’s décor.
Why Decorative Pillows?
Decorative pillows are an excellent way to change the mood of a room without committing to expensive furniture or wall treatments. Whether you want to create a cozy, welcoming atmosphere in your living room or add a pop of color to your bedroom, pillows are the perfect accessory. They allow for endless creativity; you can mix and match patterns, explore various fabrics, and even incorporate different textures to suit your style preferences.
Materials You’ll Need
Before you start, it’s important to gather all the necessary materials for creating your decorative pillows. Here’s a list to get you started:
1. Fabric: Choose fabrics based on the style you wish to achieve. Consider options like cotton, velvet, silk, or linen. Don’t shy away from bold patterns or colors!
2. Pillow Inserts or Filling: Decide whether you want a firm pillow or something soft and cuddly. Polyester fiberfill, down feather inserts, and memory foam are popular choices.
3. Sewing Machine or Needle and Thread: Even if you’re opting for a hand-sewn look, you’ll need a strong, durable thread.
4. Zipper or Envelope Closure Materials: Closures are essential for keeping your pillow intact. Zippers, buttons, or an envelope-style closure are all suitable options.
5. Additional Decorative Elements: If desired, you might want to add tassels, beads, or embroidery to elevate the look of your pillow even further.
Step-by-Step Guide
Step 1: Choose and Prepare Your Fabric
Start by selecting a fabric that matches or complements your existing décor. You’ll need enough fabric to cover your pillow insert, plus an additional inch on each side for seams. Once you’ve chosen your fabric, cut two equal squares or rectangles, depending on the shape of your pillow insert.
Step 2: Decide on the Pillow Closure
Pillow closures are necessary to keep the pillow intact and allow the cover to be easily removed for washing. Classic options include:
– Zipper Closure: Sturdy and secure, zippers are excellent if you want to create a sleek look. You’ll need a zipper slightly shorter than the width of your pillow.
– Envelope Closure: An easy, no-fuss option. Simply overlap two fabric panels on the back of the pillow cover, which will eliminate the need for additional materials like zippers or buttons.
Step 3: Sew the Seams
Place the two pieces of fabric together, with the right (front) sides facing each other. Pin along the edges to hold everything in place. If you’re adding a zipper, this is the time to sew it into one side.
Next, sew along the pinned edges with your chosen seam allowance (usually about ½ inch), leaving a gap on one side to insert the pillow. If you’re using a zipper, follow its installation instructions carefully before sewing the remaining sides.
Step 4: Turn and Stuff
After you’ve sewn all three sides (or the three and a half, if using a zipper), trim the corners to reduce bulk. Turn the fabric right-side out, pushing out the corners gently with a pointed object such as a chopstick or the blunt end of a pen.
Insert your pillow form or stuff the cover with your chosen filling until it reaches your desired level of firmness.
Step 5: Finish the Closure
For envelope closures, simply fold and overlap the back flaps. For zippers or button closures, ensure the fasteners are securely in place. For zippers, carefully sew the remaining seam.
Adding a Personal Touch
One of the most exciting things about making decorative pillows is that you can let your creativity shine. Here are a few ideas for adding personal flair:
– Embellishments: Add sewn fabric flowers, tassels, or ruffles for an extra dimension.
– Monogramming: Consider embroidering your initials or a meaningful message.
– Mixing Textures: Combine fabrics such as leather and suede, or velvet and silk, to create visual interest.
Styling Your Space
Once your pillows are ready, it’s time to style your space. Mix and match sizes and shapes, combining larger square pillows with smaller rectangular ones. Incorporate various patterns and color schemes to create a balanced look. You might want one color to be a unifying thread throughout all your pillows, or perhaps you prefer an eclectic, mismatched approach.
Remember, the key to styling with pillows is to experiment. Move them around, try different arrangements, and see what pleases your eye. Decorative pillows can instantly transform a space, making it feel new and fresh.
DIY decorative pillows not only bring a touch of personality to your home but also offer an easy and affordable way to explore your creativity. Whether you’re changing your home’s look for the season or just freshening it up for fun, the options are endless when you embrace the art of pillow-making. So gather your materials, channel your inner designer, and start creating your own beautiful decorative pillows today!

