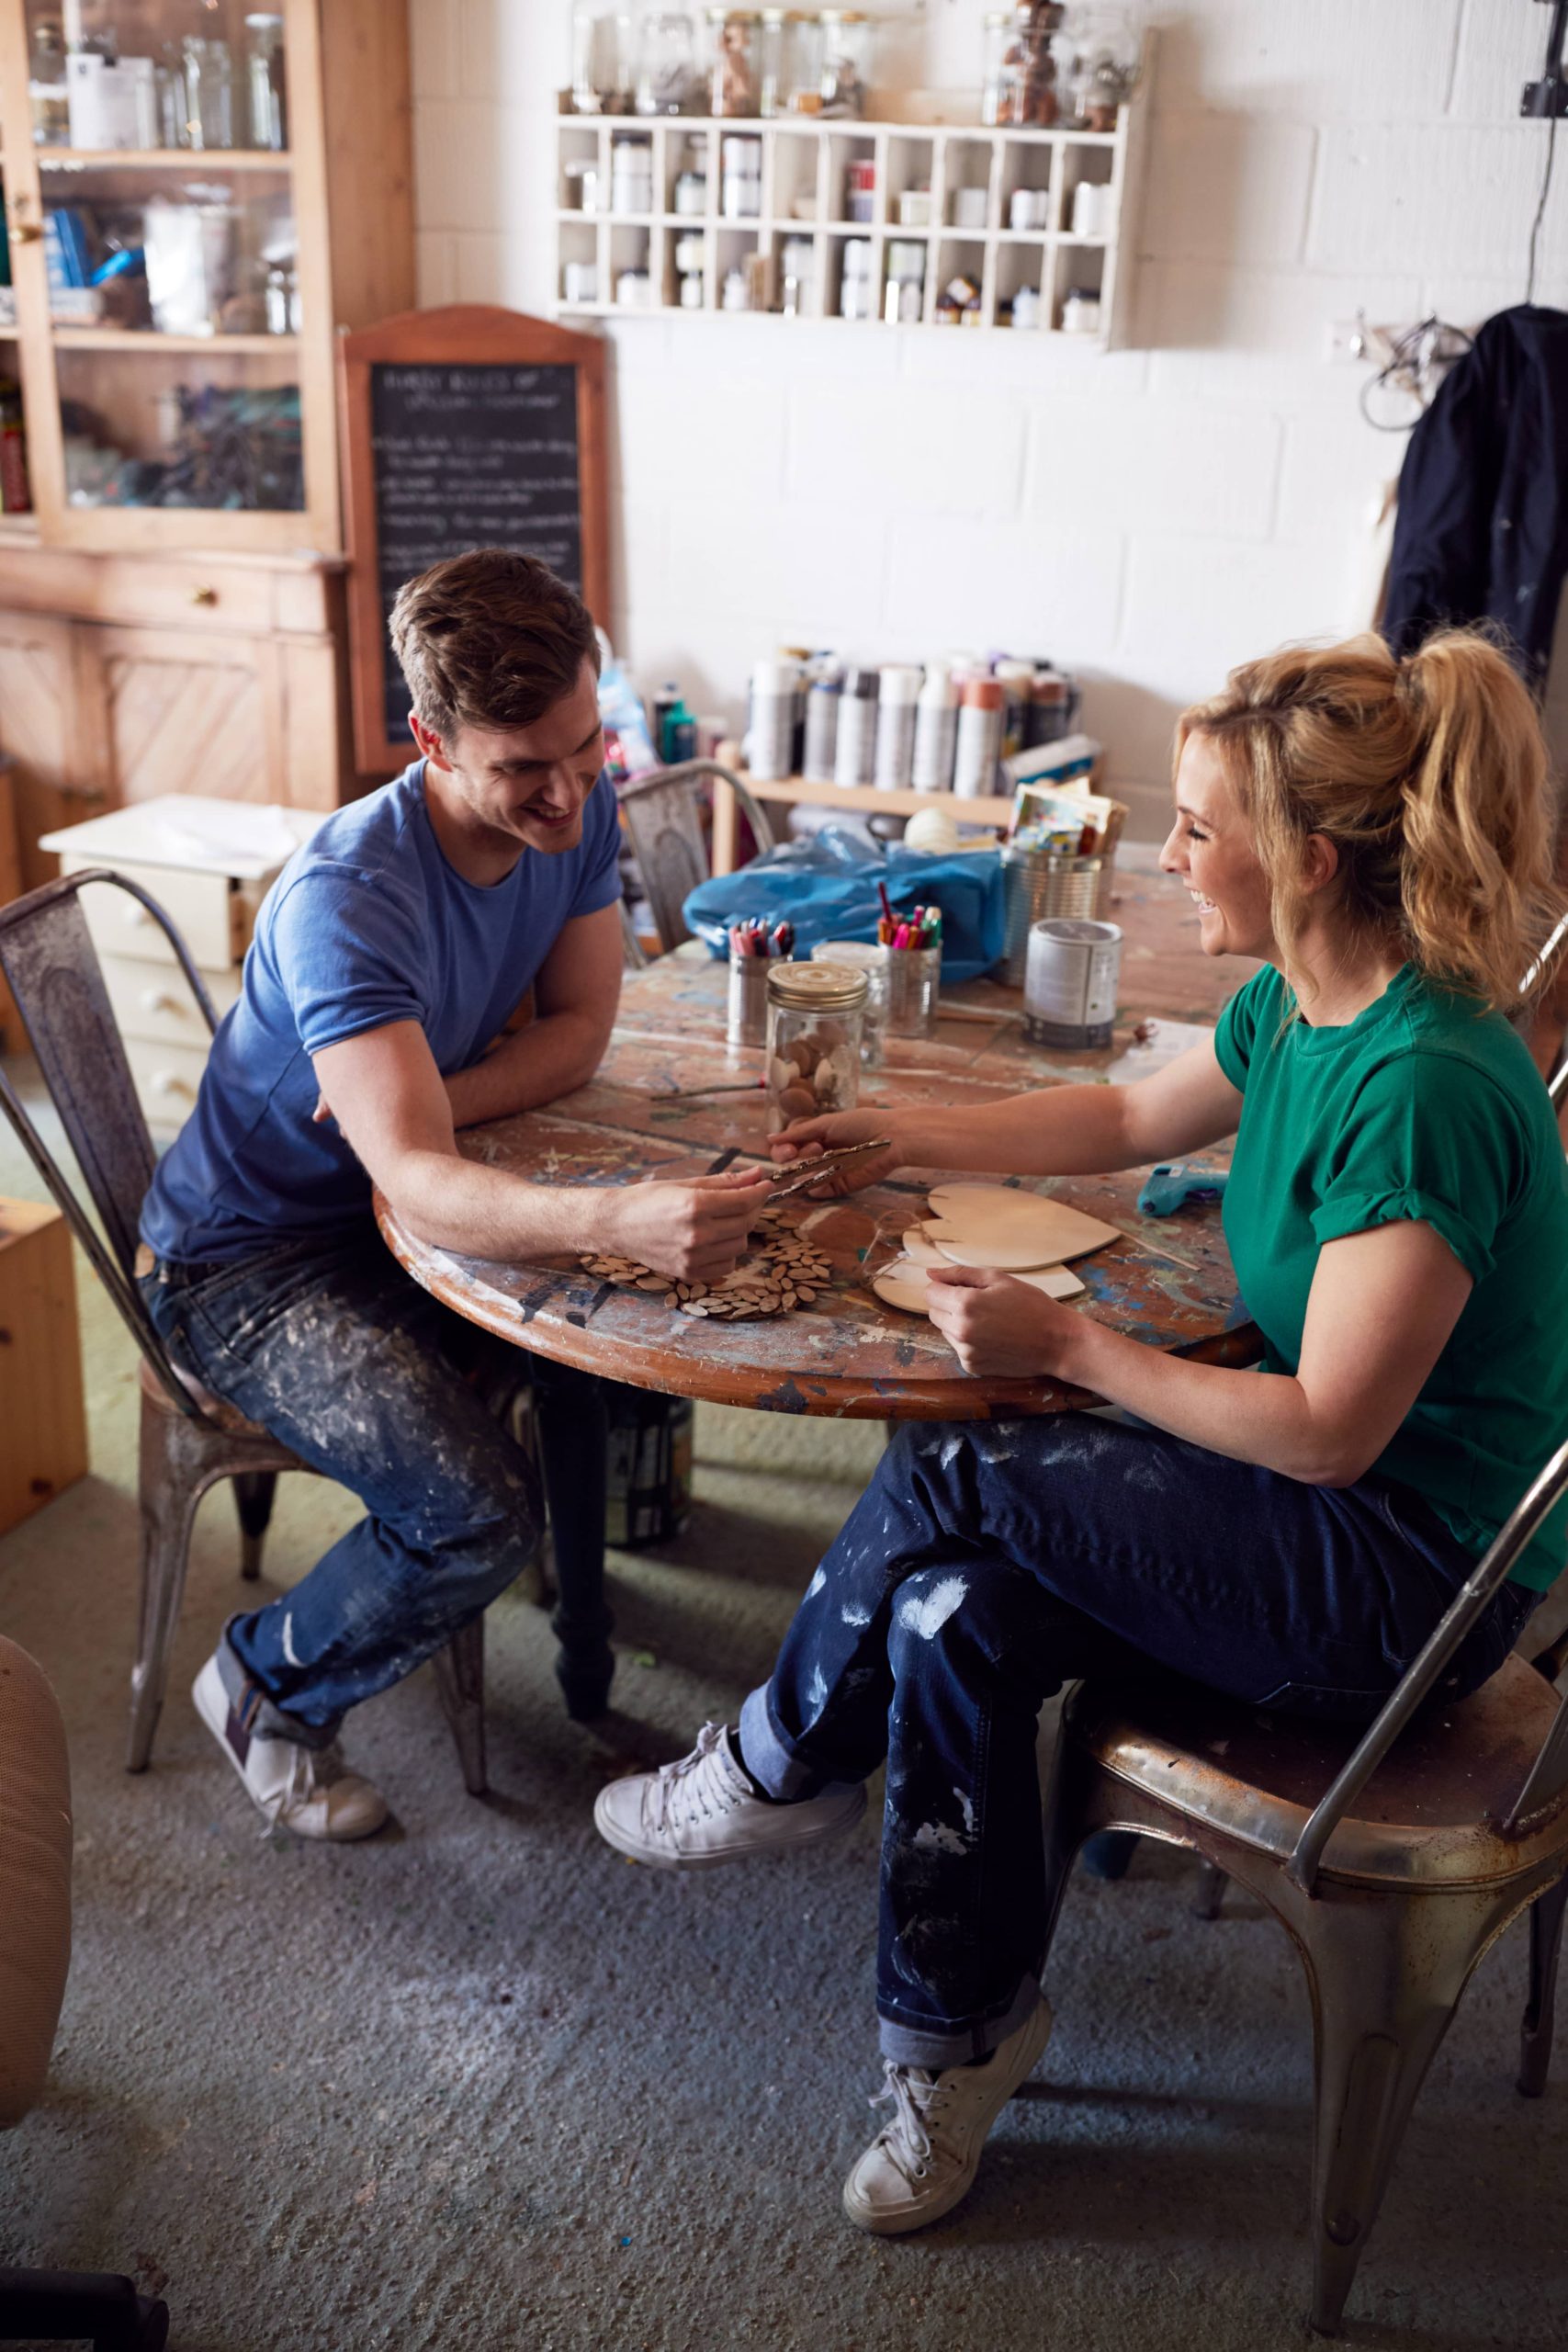
Valentine’s Day is just around the corner, and there’s no better way to express your love and appreciation for your special someone than with a personalized, handcrafted card. In a world awash with digital messages and store-bought cards, a DIY Valentine’s Day card stands out as a heartfelt memento that conveys effort, thought, and sincerity. Here’s a comprehensive guide to creating unique and personalized Valentine’s Day cards that will surely touch hearts.
Choosing Your Materials
Before diving into your creative process, it’s crucial to select the right materials. The choice of materials can drastically transform the look and feel of your card.
– Cardstock: The sturdier the base, the better your card will hold up. Choose high-quality cardstock in a variety of colors. Red, pink, white, and pastels are traditional, but don’t shy away from using bold colors like black for contrast or metallics for a touch of luxury.
– Decorative Paper: Scrapbooking paper, tissue paper, or even old magazines can add texture and interest to your design.
– Ink and Paint: Watercolors, acrylics, or simple ink can be used for painting designs or writing messages.
– Embellishments: Think stickers, washi tape, ribbons, lace, buttons, or glitter. These little extras can add depth and character to your card.
– Tools: Scissors, paper cutters, glue, and a variety of pens or markers are essential. Consider investing in a bone folder for crisp creases and a hot glue gun for attaching bulkier embellishments.
Drawing Inspiration
Before you start your project, gather inspiration. Consider the recipient’s personality, interests, and your relationship with them. Are they into travel, music, or vintage aesthetics? Incorporating these elements into your design will make the card more meaningful.
Online platforms like Pinterest, Instagram, and crafting blogs are treasure troves of ideas. Create a mood board or a Pinterest board with your favorite designs, techniques, and ideas.
Techniques to Try
1. Watercolor Washes:
Watercolors offer a dreamy, ethereal quality to your cards. Create a simple background using soft shades or an ombré effect. Once dry, you can layer on cutout shapes or write a message in calligraphy. Waterbrush pens can offer more control if you’re wary of traditional brushes.
2. Calligraphy and Hand-Lettering:
Even if you’re not a calligrapher, hand-lettering can add a personal touch to your card. Practice writing out your message beforehand and use guides if needed. There are numerous tutorials online that can help beginners start with simple styles before advancing to more intricate designs.
3. Stamping and Embossing:
Rubber stamps can add charming patterns or motifs. Embossing adds a raised texture that looks both professional and intriguing. Heat embossing, though a bit more involved, offers a shiny and eye-catching finish.
4. Pop-Up Features:
For a card that surprises and delights, try including a pop-up feature inside. There are simple tutorials available online that can guide you through basic pop-up mechanics, like hearts or flowers, that burst into view when the card is opened.
5. Photo Inclusions:
Incorporate cherished photographs into your design. Whether they form the centerpiece of the card or are tucked inside, photos bring a personal and nostalgic element.
Creating a Cohesive Design
When designing your card, consider the overall layout before gluing anything down. Start with a sketch or a rough draft on a piece of scrap paper. Think about the balance of colors, the placement of text, and the arrangement of embellishments.
– Color Harmony: Choose a color palette that is cohesive and complements your design. You could use analogous colors for a soothing look or complementary colors for something bolder.
– Font Pairing: Use two to three different fonts or styles at most. Too many fonts can make the card look chaotic. Pair a bold script with a simple sans serif for a classic look.
– White Space: Don’t overcrowd your card. Allow breathing room so that each element can shine.
Personal Touches
Your message is the heart of the card. What you write should come from an authentic place. Whether it’s a simple “I Love You,” a poetic verse, or an inside joke, ensure it resonates with your loved one.
Consider adding personal touches like:
– Handwritten Notes: Even if your penmanship isn’t perfect, your handwriting adds sincerity.
– Quotes or Poems: Use a quote that reflects your relationship. Poems, whether famous or original, can beautifully convey sentiment.
– Custom Illustrations: Draw little doodles or sketches that reflect shared experiences or personal connections.
Sustainability and Thoughtfulness
Incorporate eco-friendly practices into your crafting process. Use recycled materials, repurpose old cards, or choose biodegradable decorations. A heartfelt message on a sustainably crafted card not only expresses love but also cares for our planet.
Final Thoughts
Creating a personalized Valentine’s Day card is about more than just aesthetics; it’s an act of love. It’s an opportunity to show someone how much they mean to you through time, effort, and creativity. Dive into the world of crafting with an open mind and heart, and let your imagination lead the way. No matter what the end product looks like, your special someone will appreciate the thought and love poured into each handmade card.

