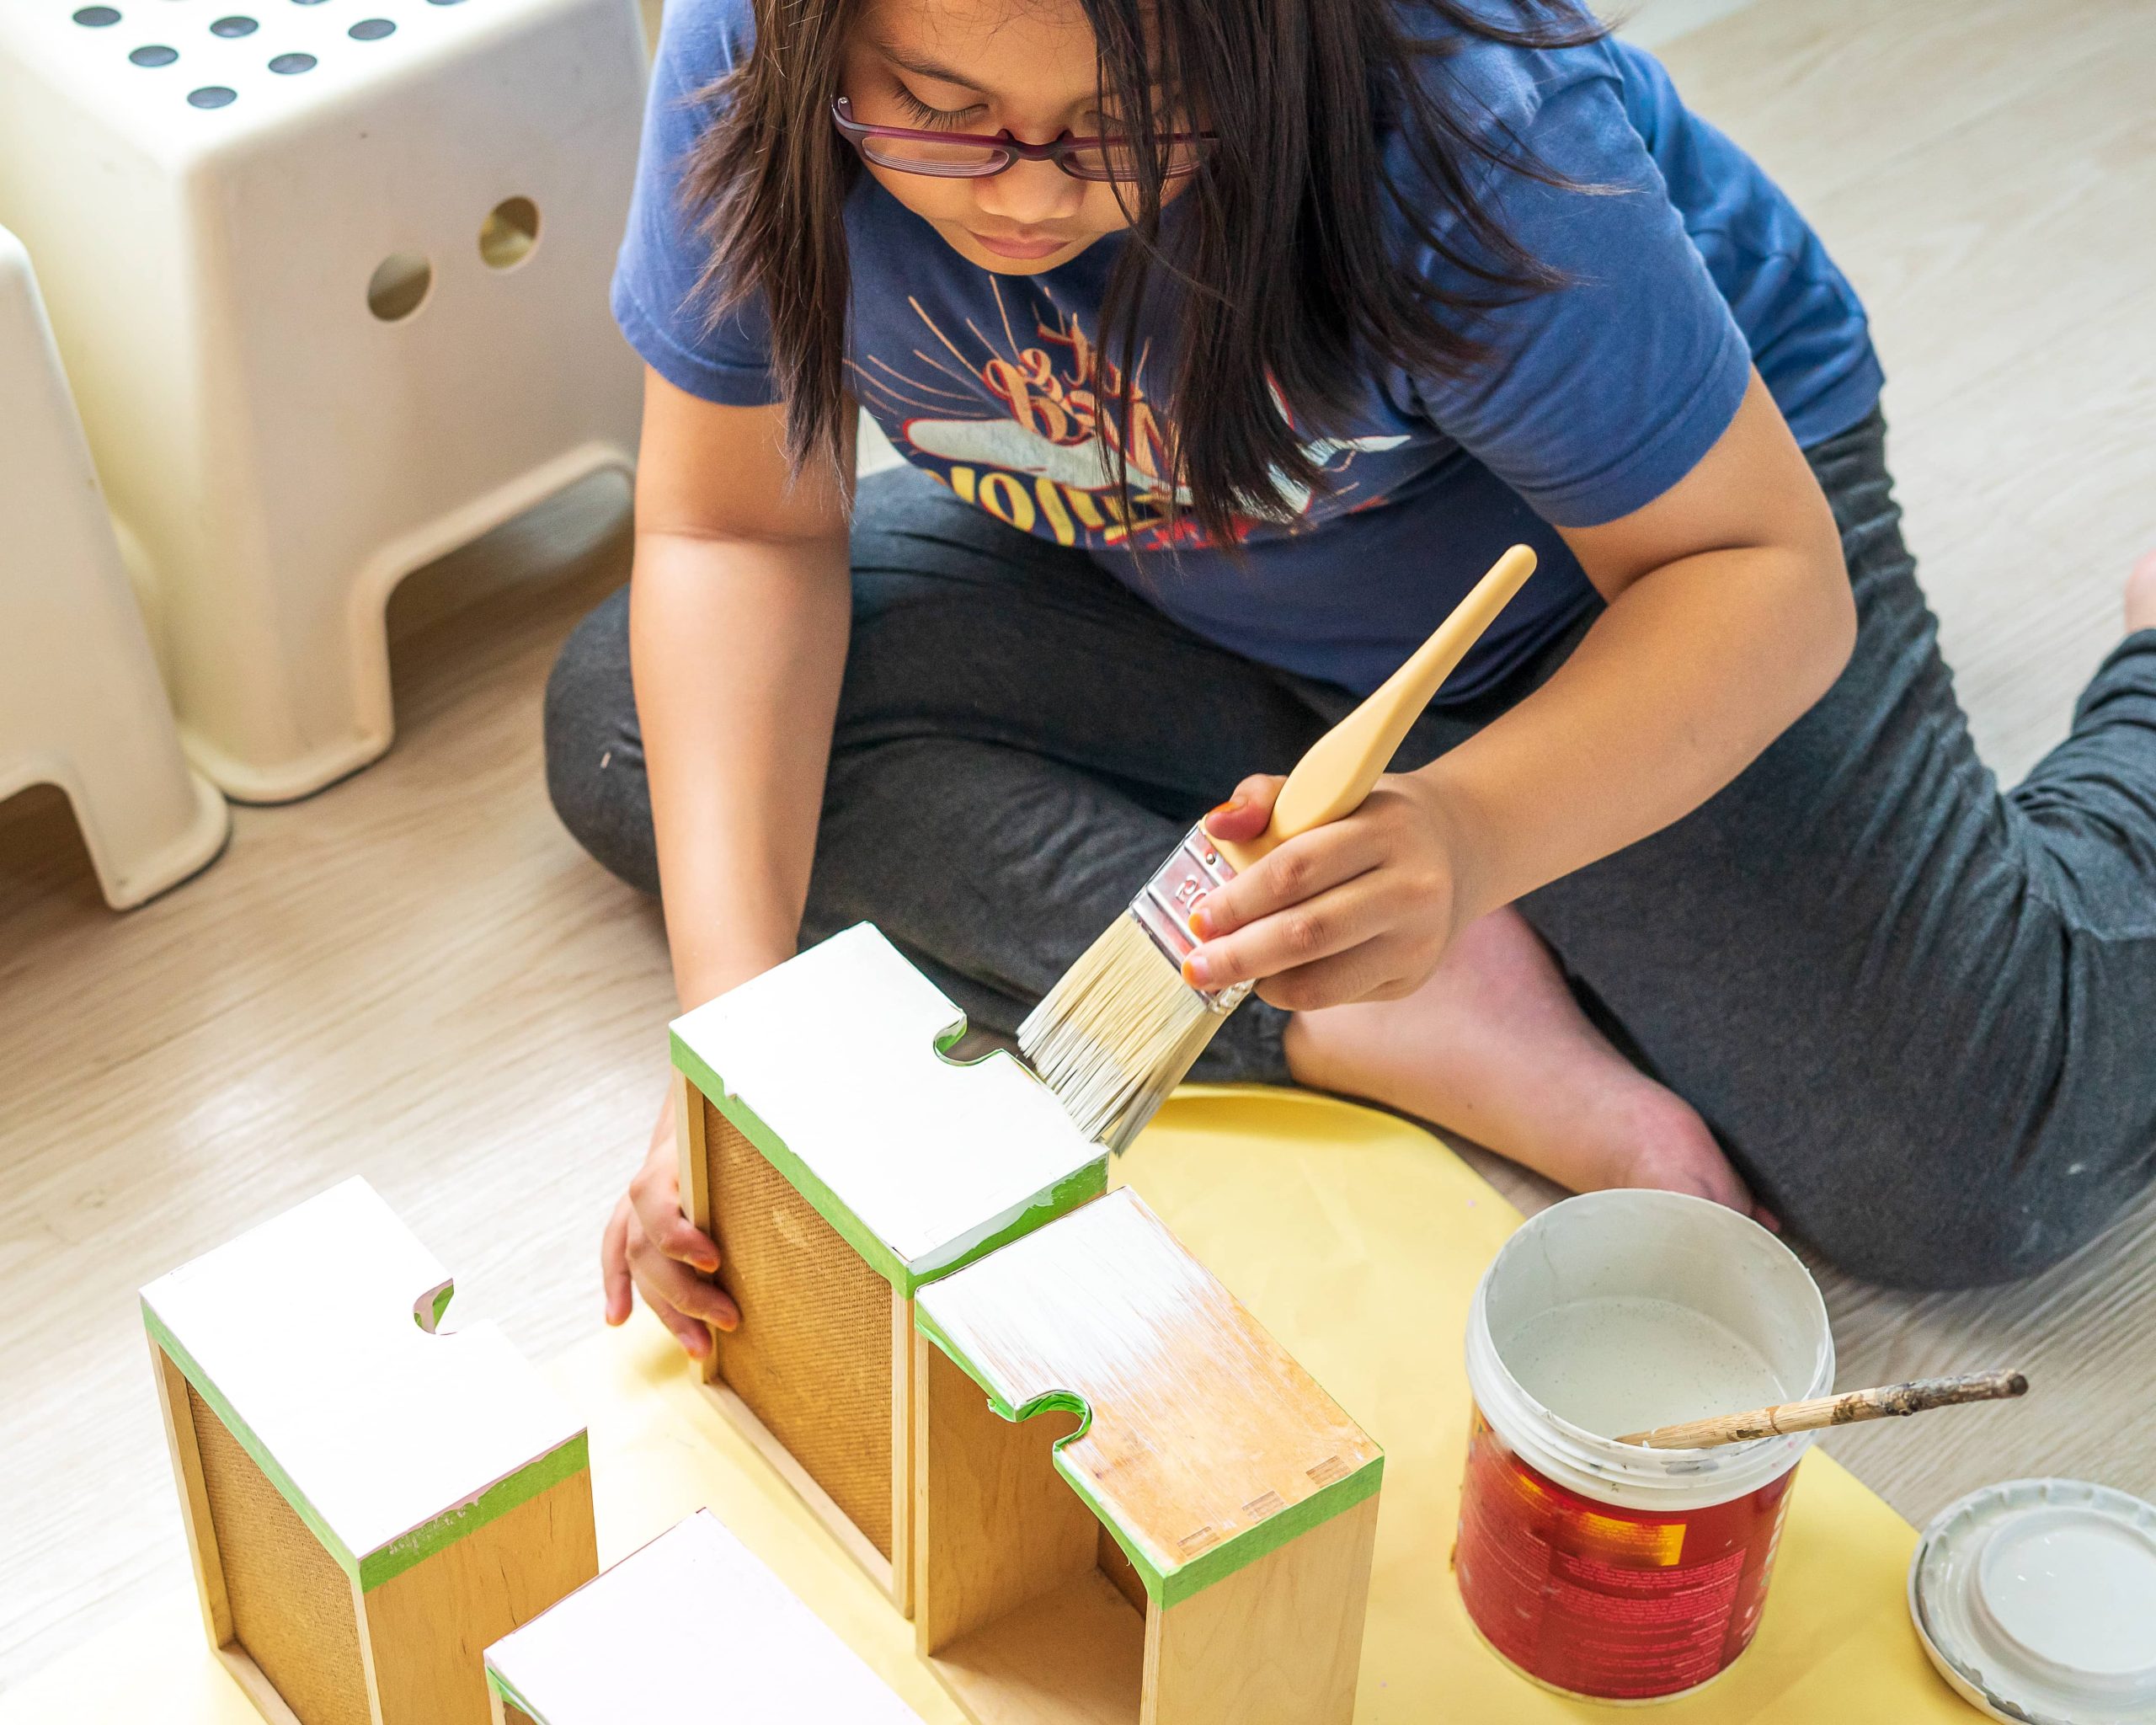
Easter is a time for celebration, renewal, and creativity. It’s a festival marked by delightful bursts of color, fresh blooms, and the joy of celebration with family and friends. At the heart of Easter traditions lies the Easter egg—an emblem of new beginnings. This year, why not add a personal touch to your Easter decor by crafting a stunning DIY Easter egg display? Not only is this project a treat to your creative senses, but it also serves as a perfect family activity. Gather around some simple materials and let your imagination take flight!
The Inspiration Behind Easter Egg Displays
The tradition of decorating eggs dates back centuries and spans across various cultures, symbolizing life, rebirth, and fertility. In Christian tradition, eggs are associated with the resurrection of Jesus Christ. Over time, the simple egg has evolved into a canvas for artistic expression and storytelling.
DIY Easter egg displays are a modern interpretation of these traditions, offering both aesthetic beauty and a hands-on crafting experience. With DIY projects, each egg becomes a tiny masterpiece, allowing personal stories and styles to emerge. Let’s dive right into creating an enchanting Easter egg display that showcases your unique spirit.
Materials You Will Need
Creating a DIY Easter egg display is not only easy but also budget-friendly. Here is a list of materials you’ll need:
– Eggs: You can use hard-boiled, blown, or faux eggs (such as those made from plastic, wood, or ceramic). Faux eggs are great for displays you wish to use year after year.
– Paints and Brushes: Acrylic paints work well on eggs, regardless of material. Choose an array of pastel and vibrant colors to bring your eggs to life.
– Dye Kits: For those who love traditional egg dyeing, kits available at craft stores provide quick and vibrant options.
– Markers and Pens: Fine-tipped permanent markers are ideal for intricate designs.
– Glue and Adhesives: Use these to attach adornments.
– Adornment Materials: These can include glitter, ribbons, stickers, washi tape, sequins, and more.
– Display Stand: Consider small baskets, egg cups, decorative trays or DIY stands made from cardboard or wood.
Crafting Your Easter Eggs
Here’s where the magic begins! Follow these steps to ensure your Easter eggs turn out beautifully.
1. Preparation:
– If you’re using natural eggs, decide whether you want to blow them out or hard-boil them. Blown eggs are best for long-term displays.
– Clean your eggs or faux eggs to remove any residue.
2. Base Coating:
– Apply a base color using acrylic paint or dye. If using paint, you can speed up the drying process with a hairdryer on low heat.
– For dyed eggs, follow the instructions on your dye kit. White vinegar can help enhance color absorption.
3. Designing and Decorating:
– Once the base coat is dry, let your creativity shine through. Using paints, draw floral designs, polka dots, stripes, or abstract patterns.
– Use markers for detailed work like writing names, drawing fine lines, or even creating intricate lace patterns.
– Add glitter using glue for a sparkling finish, attach ribbons, or adhesive stickers to give your eggs a unique flair.
4. Seal and Protect:
– If using paints, spray a clear varnish to protect your designs and add a glossy finish. This is especially useful for blown or wooden eggs.
Assembling the Display
With your eggs adorned and ready, it’s time to create the display. Consider the following ideas:
– Egg Tree:
– Craft an egg tree using dry branches painted white or gold. Secure in a pot filled with stones or sand to hold up the branches, and hang the eggs using ribbons.
– Nestled Arrangements:
– Use small baskets or bowls lined with straw, raffia, or shredded paper to create a natural look. Arrange the eggs in groups, adding small blooms or leaves for added color.
– Elegant Towers:
– Stack eggs in a transparent vase, interspersed with faux grass and small flowers. This creates an eye-catching, vertical display.
– Table Centerpiece:
– Utilize a decorative tray or platter to arrange your eggs among votive candles, small jars of fresh flowers, or decorative figurines related to Easter.
Incorporating Personalized Touches
Remember, your DIY Easter egg display is a reflection of your personal style and the spirit of your home. Personalized eggs can serve as mementos for each family member, or gifts for guests. Consider writing messages or names on some eggs or including family pictures transferred onto the eggs using decal papers.
Conclusion
Creating a DIY Easter egg display is more than an art project—it’s a way to bring joy and seasonal warmth into your home. It encourages creativity, collaboration, and a celebration of tradition all wrapped up in the vibrant colors of spring. So gather your materials, invite your loved ones, and let the festivities begin! Whether your style is classic, rustic, or modern, your handmade creation will undoubtedly be a treasured highlight of your Easter decor.

